


I’ve been coaching this game for over thirty years, and in that time, I’ve learned two things:
- Almost every amateur golfer struggles with their chipping…
- …because they’re making the same three mistakes.
Fortunately, I love teaching golfers how to chip the ball because those three mistakes are easy to fix. A lot of players see serious improvement in a single lesson, and if that doesn’t give you a confidence boost, nothing will.
Also doesn’t hurt that better chipping is a pretty fast route to lower scores.
If you’re sick of sweating your chip shots, keep reading. You’re about to learn the secret all my students have already unlocked:
You’re a better chipper than you think you are.
How to Chip the Ball: Key Takeaways
We’ll go over all these mistakes in detail, but here’s the short version:
-
Mistake #1: Getting the ball too far back in your stance with the handle tilted toward the target. The ball should be in the center of your stance, and the butt end of the club should be even with the front side of the golf ball.
-
Mistake #2: Practicing the “hinge and hold.” It’s better to initially feel the butt end of the club moving away from the target on the takeaway.
-
Mistake #3: Swinging in and around on the backswing. You’ll have more success swinging straight back and straight through.
-
Bonus Tip: Stick with only one or two wedges so you have a chance to master them.
Chipping Mistake #1: Ball Back, Handle Forward
I see this setup on my lesson tee all the time. So many golfers move the ball way back in their stance and bring their hands forward so the butt end of the club leans toward the target.
Someone may have taught you to do it that way. But there are two reasons I’m not crazy about that setup.
First, it delofts the golf club. Say you’re using a 56° wedge. When you lean the shaft toward the target, you take that loft down to 30° or so. It defeats the whole point of using a high-lofted club.
Now, there are plenty of situations where I’d encourage an amateur golfer to go with a lower loft, but I’d rather they just grab a club with less loft. That helps you avoid the second problem with that forward shaft lean: negating the bounce.

Your wedges are designed with a rounded sole that helps the club glide through the turf on chip shots rather than digging in. This is what we call “bounce,” and it’s essential for making clean contact and hitting controlled shots.
When you lean the club forward, you end up swinging toward the ground with that leading edge out in front, eliminating the bounce and increasing your odds of chunking it.
What to Do Instead
First, you want to position the ball in the center of your heels.
When you’re first practicing this adjustment, it can help to visualize the center using an alignment rod. Simply lay the rod on the ground straight out from the ball and tracking between your feet. If it looks like the rod is perfectly centered between your heels, you’ve got the ball in the right spot.

As for the position of the club shaft, you want a very, very slight forward lean. Shift the handle so the butt end is just on the front side of the golf ball and no farther.
Now here’s a quick bonus tip: Set up with about 70% of your weight on your lead foot.
Chipping Mistake #2: Hinge and Hold (Yes, Seriously)
You’ve probably heard the old “hinge and hold” tip before. Almost every golfer has. And I’ll be honest, it comes from a great source.
But I’m still not a fan of this move. Especially not for amateur golfers.
The problem with the “hinge and hold” is that it gets you to create extreme forward shaft lean at the very beginning of your swing (hinge) and then keep your club in that position as you swing through (hold).
This makes all the work you just did to fix your setup completely pointless. With the hinge and hold, you’re once again delofting the club and negating the bounce.
And odds are, that shot’s going to come out low and hot. When I teach my students how to chip the ball, we’re usually aiming for shots that land and roll out like a putt.
What to Do Instead
When you start your swing motion, you want to initially feel like you’re moving the butt end of the club away from the target. You can still get away with a mini hinge here, but if you do the big hinge most amateur golfers do, you’ll feel the butt end shifting toward the target.

Then, when you come through the strike, make sure the butt end of the club is pointed at your belt buckle. This is considered a neutral position, and it ensures solid contact that maintains loft and bounce.
Chipping Mistake #3: Swinging In and Around
Your swing direction influences where the low point of your swing lands. If you’re taking your backswing in and around, you’re moving the low point too far back in your stance. That means you’re hitting the ground before you hit the golf ball.
You know what happens next. You’re topping it. Skulling it. And I hate to use this word, but you may even be shanking it.
What to Do Instead
Instead of swinging in and around, you want to swing straight back and straight through.
I have my golfers practice this using an alignment rod. Lay the rod on the ground behind the ball with the rod along the target line. Then, as you practice your swing, feel yourself move the clubhead back along the target line (the rod) instead of bringing it in and around your body.
Now, I will acknowledge that you’ll probably see the clubhead come a little to the inside of the alignment rod when you do this drill. We don’t have extendable arms, so it’s not realistic to expect to keep your swing path perfectly straight on the backswing.

But I guarantee you’ll see much better chip shots if you work on creating a swing direction that’s as straight back and straight through as you can get it.
Next-Level Chipping
These three fixes may not all align with the way you were originally taught to chip the ball, but try them anyway. I guarantee you’ll see instant improvement and never look back.
Now, if you’re ready for a more in-depth look at how to chip the ball and tighten every aspect of your short game, I lay it all out in my bestselling book, The Easy Break. I’m a big believer in simplicity and clarity—over-complication never works—so this book is loaded with helpful images, checklists, practice plans, fun drills, and bonus resources to make the material easy to digest and apply.
Get your copy of The Easy Break here.

Another way to take your chipping to the next level is to choose one or two wedges and only use those.
When you cycle through all possible options, you never spend enough time with any one club to master it. If you want to be a strong chipper, your proficiency with your club beats the specialization of its design.
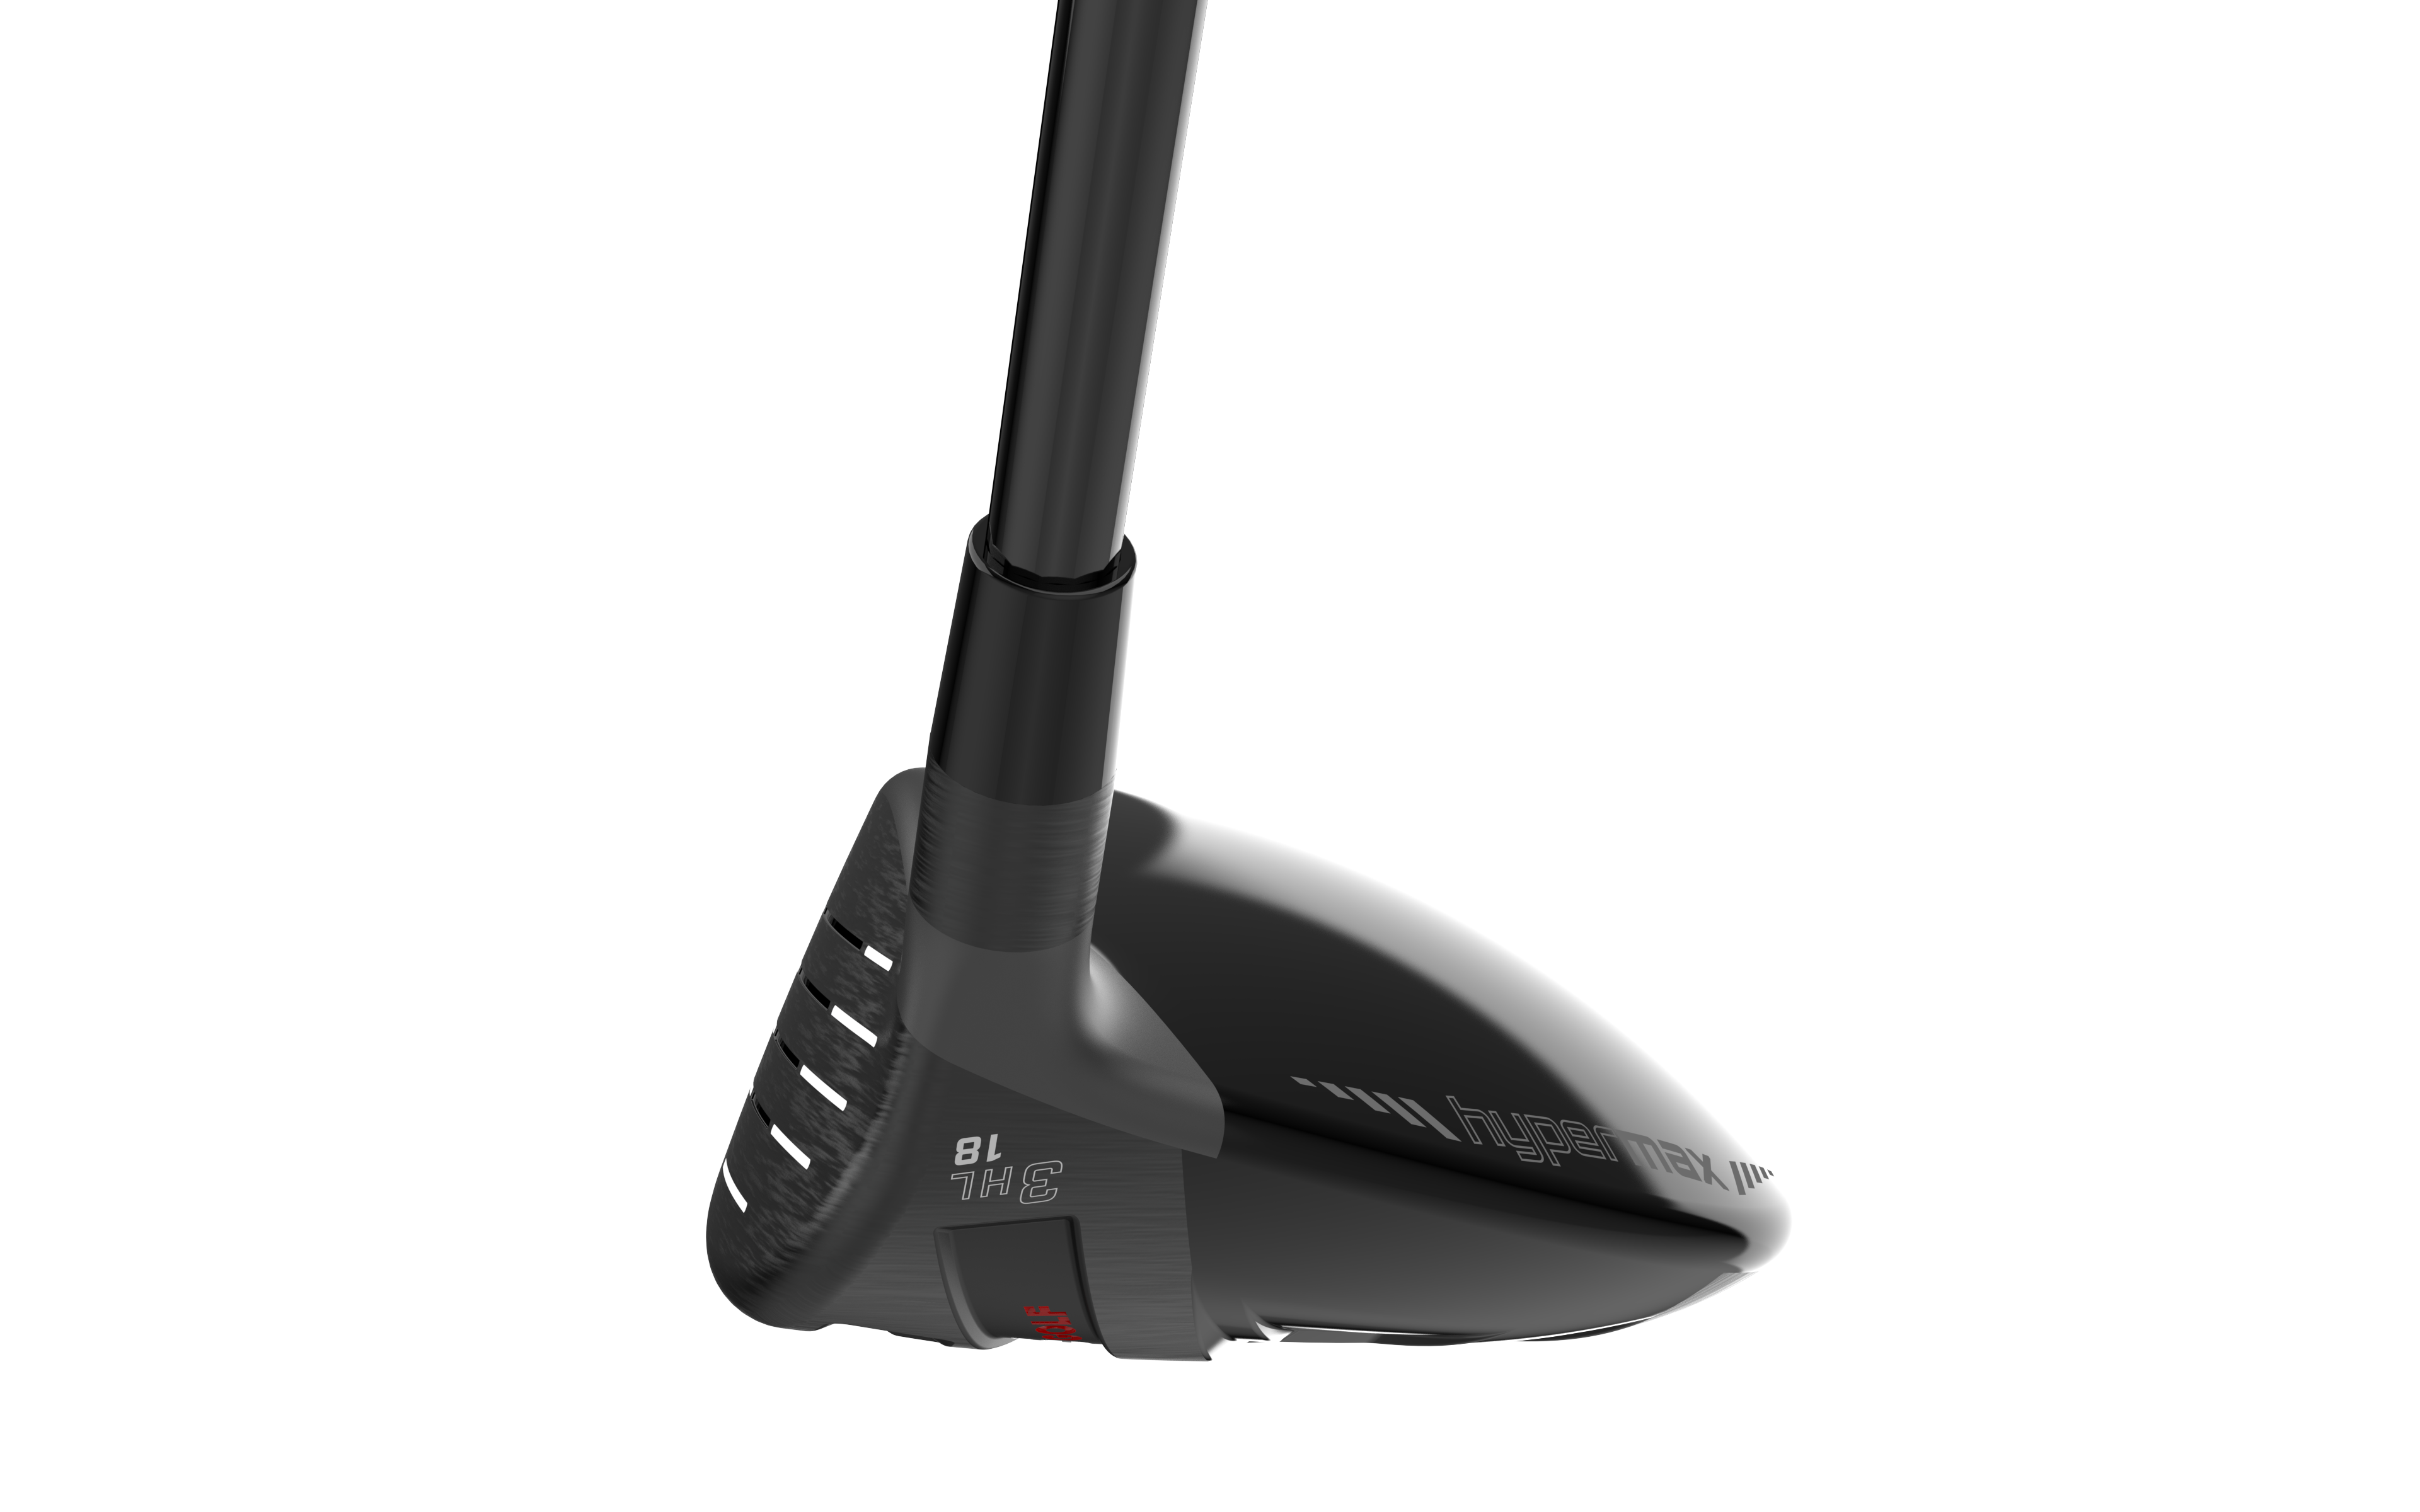
That’s also why the VLS team and I developed the Align Grind wedges. These clubs are built for versatility, so you get clean contact and maximum forgiveness on every shot, no matter the lie.
Read a review of the Align Grind wedges here, then click this link to give them a try risk-free for 180 days.
Now take your newfound chipping skills to the golf course, and be sure to let us know how it goes!
About the Author
PGA Teaching Professional Todd Kolb is a five-time Golf Digest Best-in-State Instructor, Amazon Best-selling Author, and Minnesota PGA Teacher of the Year. In over 30 years of coaching, he’s worked with from newbies to an LPGA major champion. He’s currently the Director of Instruction for VLS Golf and USGolfTV and dedicates his efforts to helping the everyday golfer cut through overcomplicated traditional instruction to find solutions that actually work for them.


Share:
How to Hit Wedges: What Every Amateur Golfer Should Know
How to Hit Irons for Real: 3 Myths Ruining Seniors’ Shots