

Are you a senior golfer who’s still using the same driver setup you were using twenty or thirty years ago? Is your setup modeled after the habits of a much younger golfer?
If the answer is yes, I can pretty much guarantee you’re not getting the distance you’re really capable of.
You’re about to learn my five-step senior driver setup. With this setup, you’ll overcome the challenges that have rendered your current setup ineffective.
Loss of flexibility, loss of balance, loss of strength… none of that is a big deal when you’re equipped with a driver setup adapted for this era of your golf game.
Let’s adjust your setup so you can start picking up yards in your next round.
Senior Driver Setup: Key Takeaways
-
The secret to gaining more distance as a senior golfer is finding more length in your swing and tapping into the power sources that are still available to you. Your setup can help with that.
-
Step 1 of the setup: Flare your toes to allow for more rotation in the hips.
-
Step 2: Close your stance to the target while maintaining a square clubface.
-
Step 3: Position the ball off the inside of your lead foot.
-
Step 4: Set up with about 60% of your weight on the lead foot and 40% on the trail foot.
-
Step 5: Turn your head slightly away from the target.
-
Bonus tip: Choose a driver that was actually designed for senior golfers (most aren’t).
How Can I Get More Distance as a Senior Golfer?
You’re losing distance as an “experienced” golfer because your swing has gotten shorter.
That may not be the only reason. You’ve likely lost some strength, too. But swing length is the biggest culprit.
With a diminishing range of motion, you can’t twist as deeply as you once could. That shortens your swing. You’re probably feeling less stable than you did in your younger years. That’ll also cause you to instinctively minimize your movements.

The shorter your swing becomes, the less opportunity there is to build momentum, which means less clubhead speed and painfully less distance.
So one of my biggest goals when working with experienced golfers is to help them find more length in their swing without asking them to wring themselves out like a wash rag. (If it’s not easy on the body, it’s not a senior-friendly technique.)
This is why three of the five steps in the senior driver setup you’re about to learn are all about lengthening your backswing. There’s also a key step that’s going to help you tap into a power source you didn’t know you had. You’re gonna love that one.
So let’s get into it.
Step 1: Flare Your Toes
When you get into position, flare your toes out a little instead of standing with them pointed straight forward.
How much you flare them is up to you. I generally say 20-25° of flare is probably good, but it all comes down to what feels right for your body.

Why This Helps
It’s much easier to turn your hips and shoulders when your toes are flared.
In fact, you can try it right now. Stand with toes pointing forward and make an imaginary golf swing. Then try it again with your toes flared. You’ll feel it instantly—the way your hips lock up when your toes point straight out toward the ball.
This is an excellent way for experienced golfers to reclaim the range of motion they’ve lost. It’s easier to rotate, so you can rotate more deeply. This lengthens your backswing, which then helps you pick up more speed so you can rocket the ball down the fairway.
Step 2: Close Your Stance
Set up with your stance ever so slightly closed to the target line.

It might help to practice with an alignment rod at first. Lay the rod on the ground between your feet and the ball so it follows the target line. Then adjust so your feet, hips, and shoulders aim slightly to the right of that line if you’re a right-handed golfer. If you’re left-handed, you want to aim your stance slightly to the left.
Another way to put it would be that your lead toe should be a little closer to the alignment rod than your trail toe.
Why This Helps
Once again, we’re looking for more length. Aiming your stance slightly to the right of the target allows for a longer, deeper swing relative to the target line.
Important: While your stance is closed, you still want your clubface square to the target line.
Step 3: Fix Your Ball Position
Okay, this step isn’t senior-specific. It’s just something every golfer should be doing…
…and a lot of golfers aren’t.
When you set up to the tee, you want to make sure the golf ball is positioned off the inside of your lead heel and the inside of your lead arm.

Here’s how I have my students find the sweet spot when they’re first learning to make this adjustment:
-
Stand with your feet together and imagine a line starting between your heels and leading straight out in front of you. Position the ball on that imaginary line. (You can also use an alignment rod to visualize this line more clearly.
-
Step your lead foot slightly toward the target. By “slightly,” I mean about an inch.
-
Take a much bigger step away from the target with your trail foot—as far as you need to go for a comfortable stance width.
If the ball looks even with the inside of your lead heel, you’ve done it right.
Why This Helps
Driver shots are unique in that you always want to hit up on the ball. That is to say, you want the moment of impact to occur after the low point of your swing, when the clubhead is moving at an upward angle.
This upward angle of attack allows for more carry and roll, so it’s essential for getting good distance.
In order to ensure you hit up on the ball, you need to make sure the ball is in a spot where the clubhead will make contact with it after the low point of your swing.
Now, here’s the golden nugget: The bottom of your swing is typically equal to the buttons on your golf shirt.
If you can remember that, you’ll always have a better understanding of how to position your golf ball in any shot, whether you want to hit up or down on it.
In the case of driver shots, you want to hit up. So you move the ball farther forward in your stance, off the inside of your lead foot.
Step 4: Adjust Your Weight Distribution
We’re really passionate about this one at VLS Golf. We call this concept “the 60/40.”

Simply put, you want to set up with about 60% of your weight on your lead foot and about 40% on your trail foot.
Don’t get too hung up on exact percentages. I’m just trying to give you a general sense of the balance you want.
Now, the 60/40 is a standard all golfers should follow, but it’s especially beneficial for the more “experienced” among us. Let me explain.
Why This Helps
You always want your weight to move with your club throughout your golf swing. On the backswing, you shift most of your weight into the trail foot, then you shift it back into the lead foot as you swing down and through.
This weight shift is crucial for solid contact, as it ensures that the low point of your swing stays where you expected it to. It also helps with rhythm and tempo.
But the really big win for senior golfers is that shifting weight generates power and speed. When you can no longer count on deep rotation and raw strength, you can still use your body weight to build momentum and energize your swing.
Starting with the 60/40 in your senior driver setup ensures you have enough weight to shift in the backswing.
Step 5: Turn Your Head Away
You’re gonna have to trust me on this one. It feels a little counterintuitive at first.

When you setup for a driver shot, turn your head slightly away from the target.
Why It Works
Once again, we’re looking for more rotation so you can create a longer swing.
When you keep your head looking straight down at the golf ball, you sort of lock your shoulders in, limiting your range of motion on the backswing.
By turning your head away from the target just slightly, you free yourself up for an easier, deeper turn.
Beyond the Senior Driver Setup
The golf industry is obsessed with what young, professional golfers are doing. And sure, there’s a lot we can learn from them. After all, they’re the true masters of the game.
But you’ll never excel with a technique that requires you to perform physical feats that simply aren’t possible. And you’ll never know what you’re really capable of until you try a strategy that aligns with your body and skill set.
Adopting a senior-friendly driver setup like this one is an excellent start. Beyond that, favor senior-centered instruction. (Little tip: you’ll find a lot of that at VLS Golf, including in our Coaching Program.)
Finally, choose equipment—especially a driver—that was designed with experienced golfers in mind. There’s not a lot out there. The big-name clubmakers all engineer their clubs for professional golfers, which means if you don’t have a tour player’s precision and swing speed, you can’t expect consistent performance.
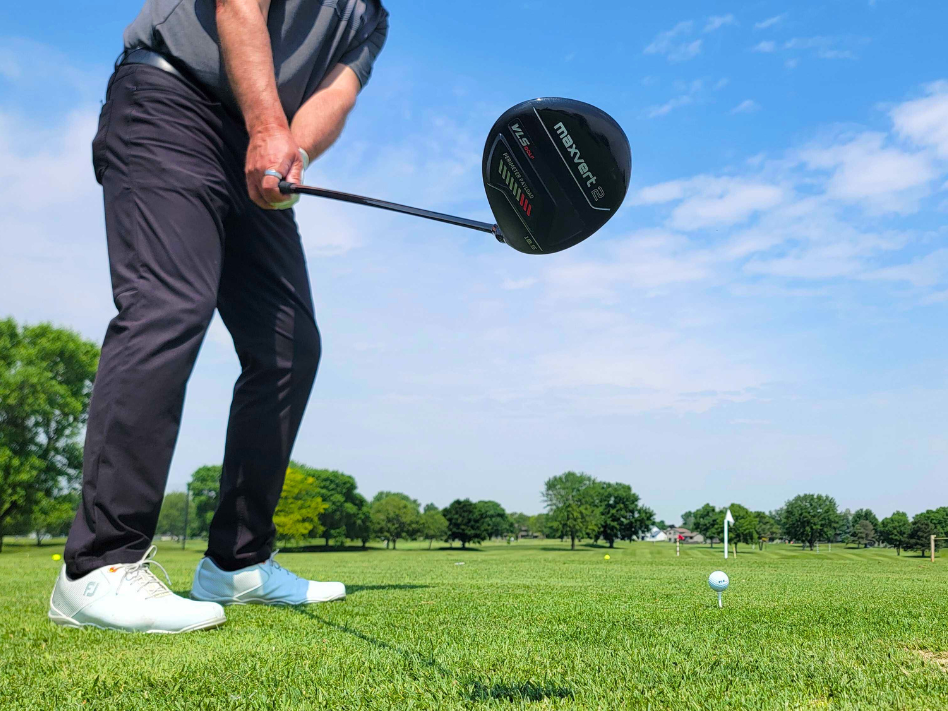
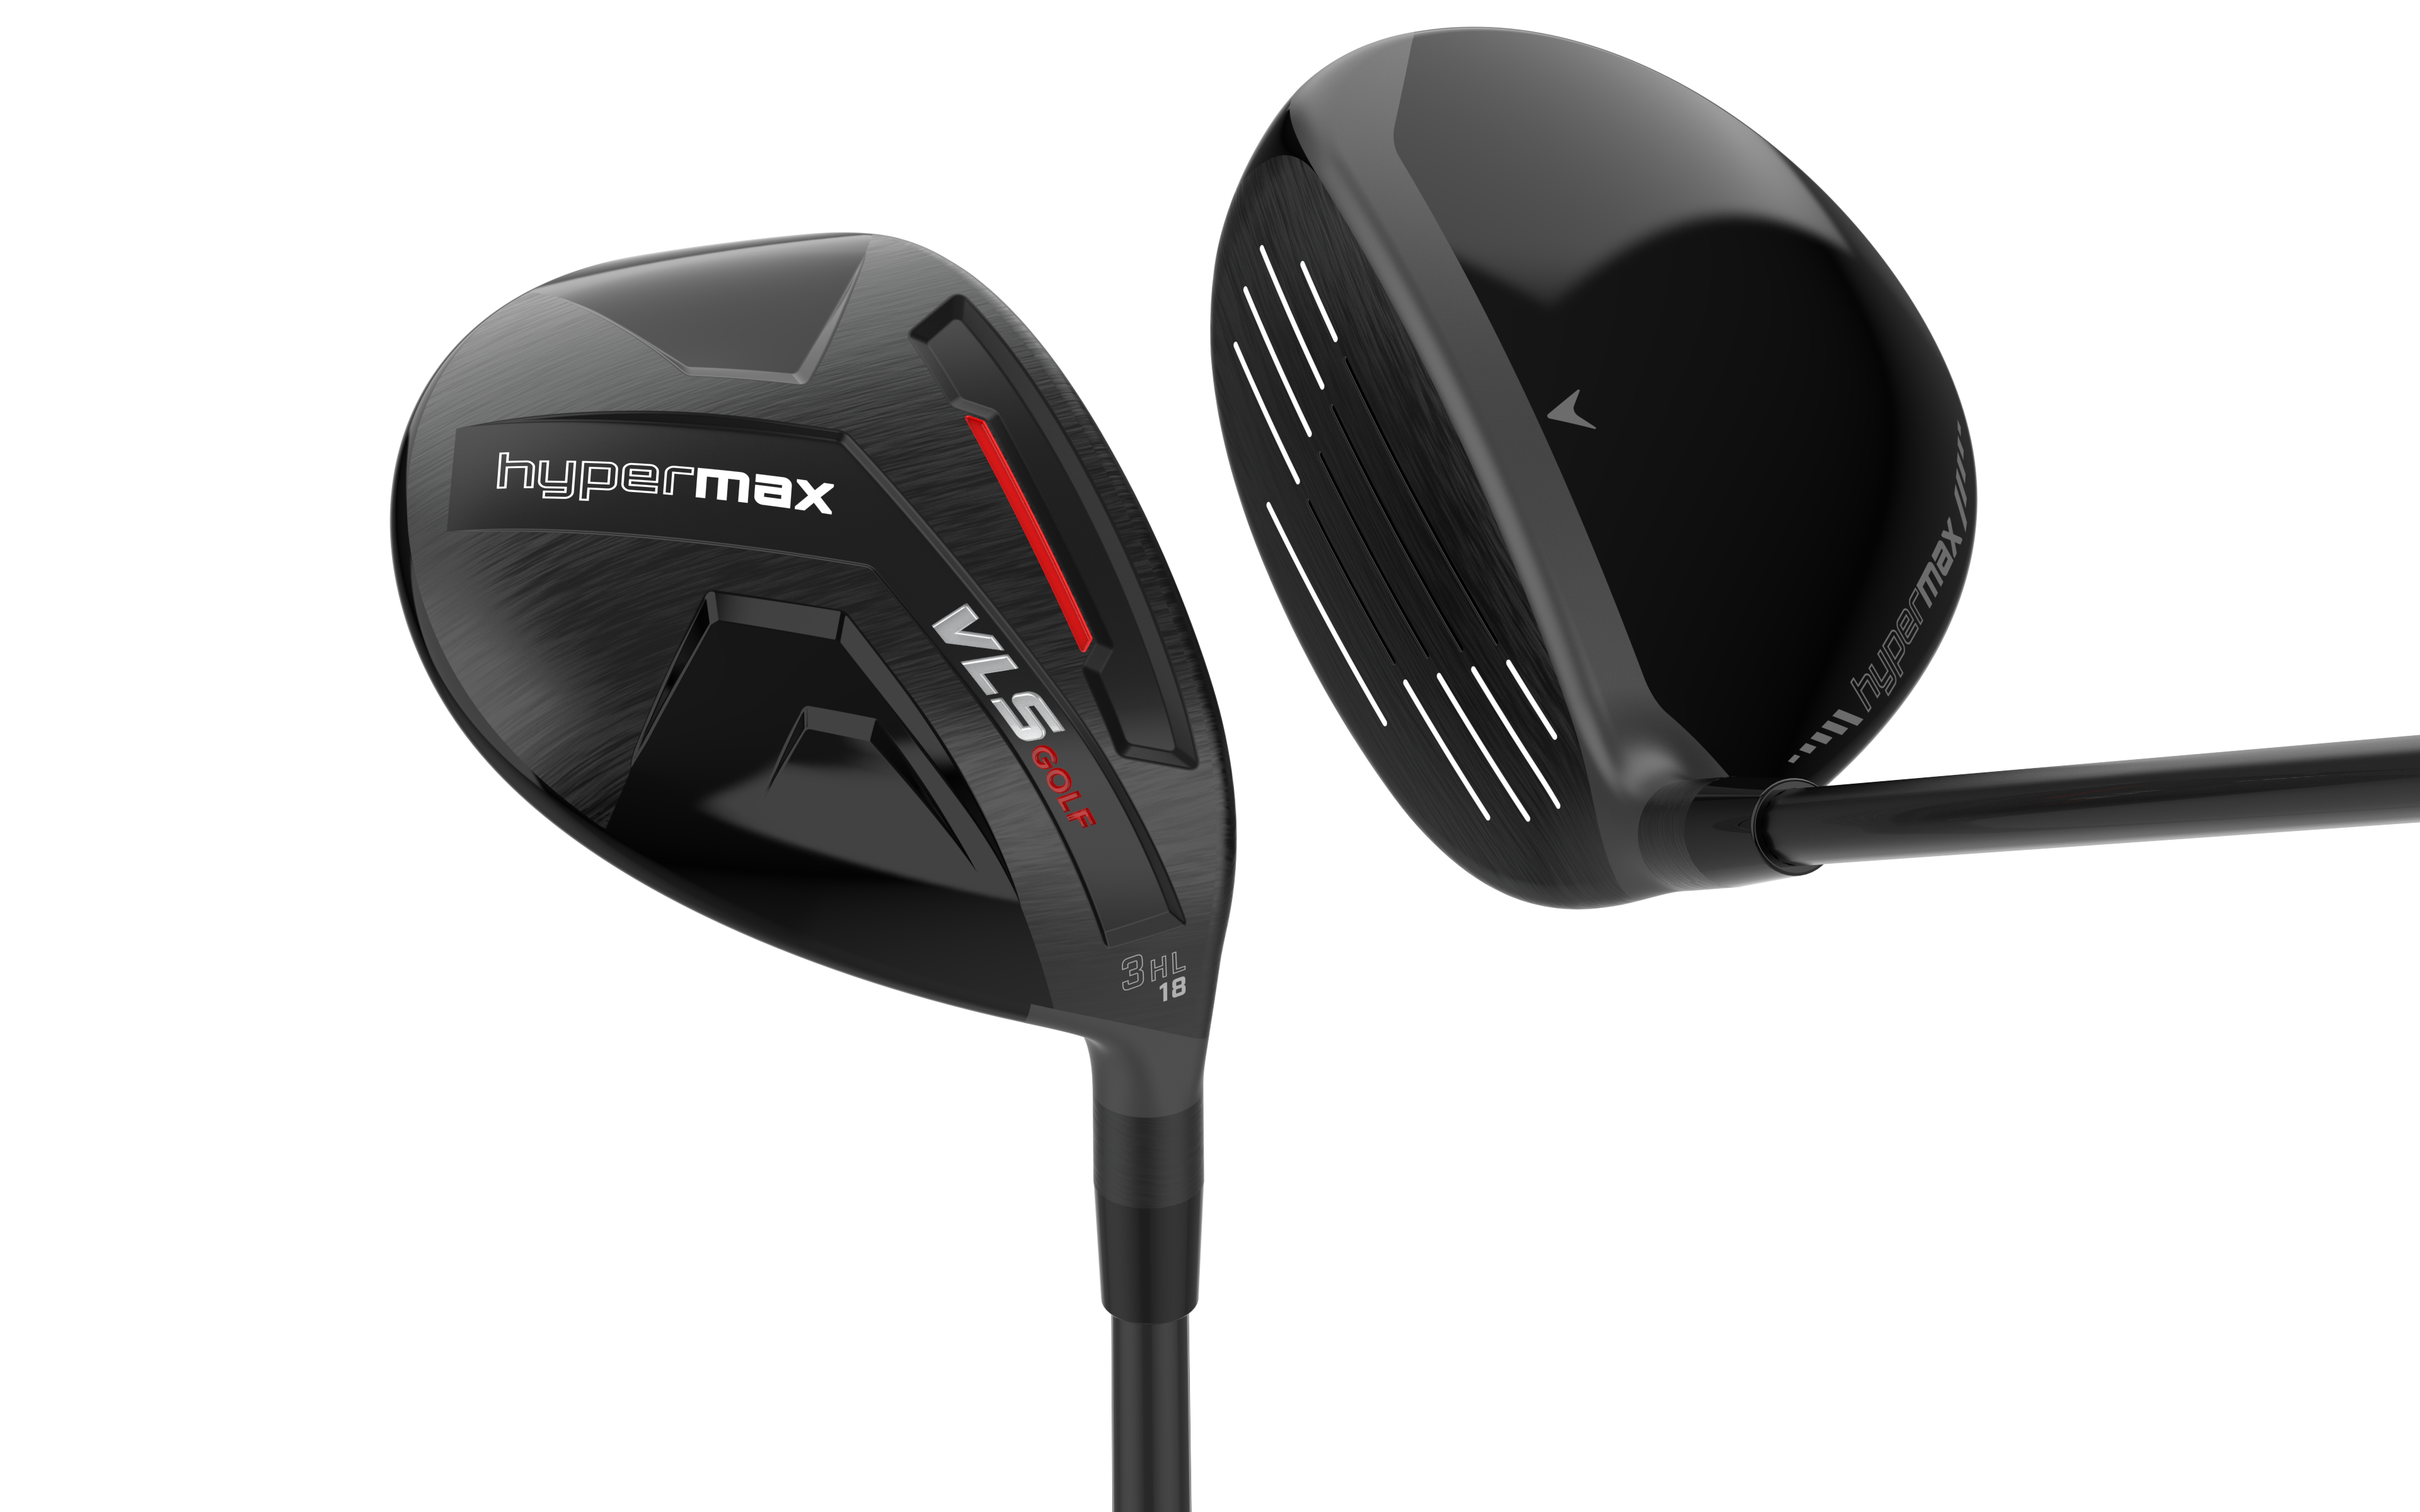
The Maxvert 2 driver is my best recommendation for senior golfers, because every feature was designed for your swing speed and made to overcome the obstacles you face as a golfer.
You can dig into the details here. For now, I’ll just tell you that I’ve seen golfers over 70 pick up as many as 40 yards with this club. They’re also finding a lot more fairways.
Ready to try it? Get your own Maxvert right here.
About the Author
PGA Teaching Professional Todd Kolb is a five-time Golf Digest Best-in-State Instructor, Amazon Best-selling Author, and Minnesota PGA Teacher of the Year. In over 30 years of coaching, he’s worked with from newbies to an LPGA major champion. He’s currently the Director of Instruction for VLS Golf and USGolfTV and dedicates his efforts to helping the everyday golfer cut through overcomplicated traditional instruction to find solutions that actually work for them.


Share:
The Senior Golfer’s Formula for an Easy Golf Swing
How to Hit Wedges: What Every Amateur Golfer Should Know